
Table of Contents
ToggleMastering furniture techniques separates hobbyists from skilled craftspeople. Whether someone builds their first bookshelf or restores an antique dresser, the right methods make all the difference. Good furniture lasts generations. Bad furniture falls apart in months. The gap between them comes down to technique.
This guide covers the core furniture techniques every woodworker needs. From joinery basics to upholstery fundamentals, these skills form the foundation of quality furniture making. They apply whether someone works with hand tools in a garage shop or operates industrial equipment in a professional studio.
Key Takeaways
- Mastering furniture techniques like mortise and tenon, dovetail, and pocket hole joinery creates strong, lasting pieces that can survive for generations.
- Surface preparation is critical—follow proper sanding progressions (80 to 220 grit) and raise the grain before applying water-based finishes to achieve professional results.
- Choose the right finish for your project: oil finishes enhance natural beauty, while film finishes like lacquer and polyurethane provide stronger surface protection.
- Basic upholstery furniture techniques, including proper frame preparation and foam selection, allow woodworkers to complete chairs and benches without hiring specialists.
- When restoring antique furniture, always assess and clean pieces first—many ‘damaged’ items simply need gentle cleaning rather than aggressive refinishing.
- Apply multiple thin coats of finish rather than single thick ones, and match original sheen levels when restoring vintage pieces to preserve their character.
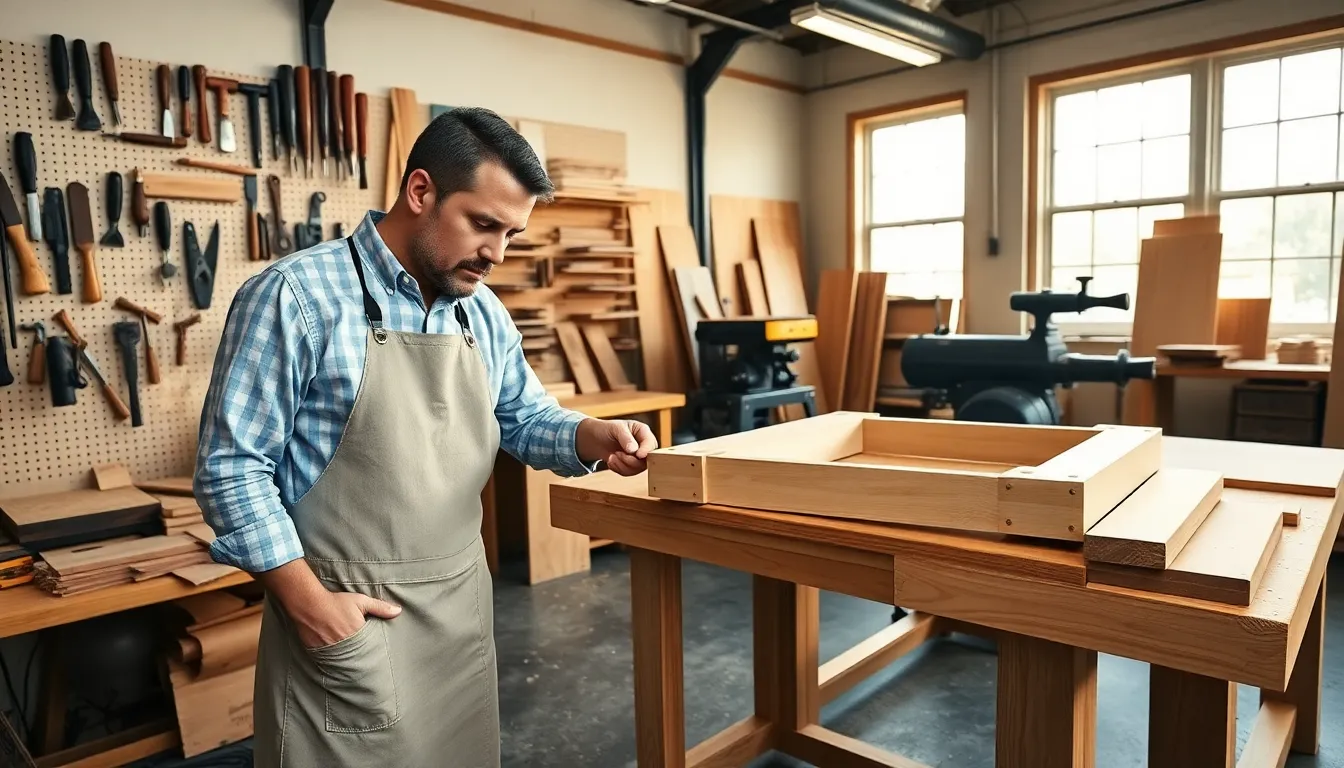
Understanding Joinery Methods
Joinery holds furniture together. Without solid joints, even beautiful pieces become wobbly disappointments. Woodworkers should learn several joinery furniture techniques to handle different project demands.
Mortise and Tenon Joints
The mortise and tenon joint has connected furniture for thousands of years. One piece has a rectangular hole (the mortise). The other has a matching projection (the tenon). They fit together and create exceptional strength.
This joint works best for chairs, tables, and bed frames. It resists racking forces, the sideways stress that makes furniture wobble. A well-cut mortise and tenon can last centuries without glue.
Dovetail Joints
Dovetails show up in drawer construction more than anywhere else. The interlocking pins and tails create mechanical strength that resists pulling apart. They also signal quality craftsmanship.
Hand-cut dovetails take practice. Many woodworkers start with a dovetail jig and router, then graduate to hand tools as their skills improve. Both methods produce strong results.
Pocket Hole Joinery
Pocket holes offer speed and simplicity. A specialized jig drills angled holes that accept screws. The screws pull pieces tightly together.
This furniture technique works well for face frames, tabletops, and quick projects. It lacks the elegance of traditional joinery but delivers reliable strength. Many professionals use pocket holes for hidden connections where appearance doesn’t matter.
Biscuit and Domino Joinery
Biscuits are compressed wood wafers that fit into slots cut by a specialized tool. They align pieces and add some strength. Festool’s Domino system uses larger floating tenons for greater holding power.
Both furniture techniques speed up panel glue-ups and case construction. They won’t replace mortise and tenon joints in chairs, but they excel at joining wide boards.
Wood Finishing and Surface Preparation
Surface preparation determines finish quality. Rushing this step ruins otherwise excellent work. Smart woodworkers spend as much time sanding as building.
Sanding Progressions
Start with coarse grits and work finer. A typical progression runs 80, 120, 180, then 220 grit. Skipping grits leaves scratches that show through the finish.
Random orbit sanders remove material quickly without leaving swirl marks. Hand sanding with the grain handles final passes and tight spots. These furniture techniques apply to nearly every project.
Raising the Grain
Water-based finishes raise wood grain. The fibers swell and create a rough surface. Experienced woodworkers wet the wood deliberately before final sanding.
Wipe the surface with a damp cloth. Let it dry completely. Sand lightly with fine grit. The grain won’t raise again when finish goes on. This simple furniture technique prevents disappointment.
Finish Selection
Different projects need different finishes. Oil finishes penetrate wood and enhance natural beauty. They offer moderate protection and easy repair.
Film finishes like lacquer and polyurethane build on the surface. They provide stronger protection but show damage more obviously. Shellac offers a middle ground, easy application with decent durability.
Spray application produces the smoothest results. Brushing and wiping work fine for most furniture techniques when done carefully. Multiple thin coats beat single thick ones every time.
Upholstery Basics for Furniture Projects
Upholstery adds comfort and style to furniture. Basic upholstery furniture techniques let woodworkers complete chairs, benches, and headboards without hiring specialists.
Frame Preparation
Strong frames support upholstery work. Joints must be tight. Wood should be smooth to prevent fabric snags. Adding corner blocks strengthens seat frames considerably.
Webbing stretches across seat openings to support cushions. Jute webbing offers traditional looks. Elastic webbing provides more give. Both furniture techniques work for different applications.
Foam and Padding
Foam density matters more than thickness. High-density foam holds shape longer. Cheaper foam compresses permanently within months.
Dacron batting wraps foam to soften edges and add loft. Cotton batting works for traditional looks. Layering different materials creates comfortable, durable seats.
Fabric Application
Pull fabric tight without distortion. Work from center outward. Staple temporarily first, then check alignment before permanent attachment.
Corners require folding furniture techniques. Hospital corners work for square edges. Pleats handle curves. Practice on scrap before working on finished pieces.
A pneumatic stapler speeds upholstery work dramatically. Manual staplers work for small projects but tire hands quickly on larger jobs.
Restoration and Refinishing Techniques
Old furniture deserves new life. Restoration furniture techniques preserve history while making pieces functional again. The approach differs from new construction.
Assessment and Cleaning
Examine pieces carefully before starting work. Identify original finishes, construction methods, and previous repairs. Some antiques lose value with aggressive restoration.
Clean gently first. Murphy’s Oil Soap removes decades of grime without damaging finishes. Many “damaged” pieces just need cleaning.
Stripping Finishes
Chemical strippers remove old finishes efficiently. Gel formulas cling to vertical surfaces. Work outdoors or with excellent ventilation.
Heat guns also strip finish but risk scorching wood. Sanding removes finish but also removes wood. Choose the furniture technique that matches the project.
Repairing Damage
Wood filler handles small defects. Epoxy consolidants strengthen rotted wood. Dutchman repairs replace damaged sections with matching wood.
Loose joints need cleaning and regluing. Remove old glue completely, new glue won’t stick to old. Inject glue into tight spaces with syringes.
Matching Finishes
Color matching challenges even experienced restorers. Test finishes on hidden areas first. Layer stains and dyes to build color gradually.
Topcoats should match original sheen levels. High gloss on an originally matte piece looks wrong. These furniture techniques preserve the character that makes old pieces special.